Little Wing 02 Repair
2025
Tanglewood Fix 1
Tanglewood Fix 2
Tanglewood Fix 3
Tanglewood Fix 4
These are pictures of the fix that I made to the guitar to stabilize the soundboard. The damage to the soundboard was too much to repair to make it worthy of playing. Not only was it cracked from the soundhole to the butt, one of the internal braces was broken off and one partially separated from the soundboard. The good news is that I only need to stabilize the soundboard so that it didn't separate and break the paint I was planning to put on top.
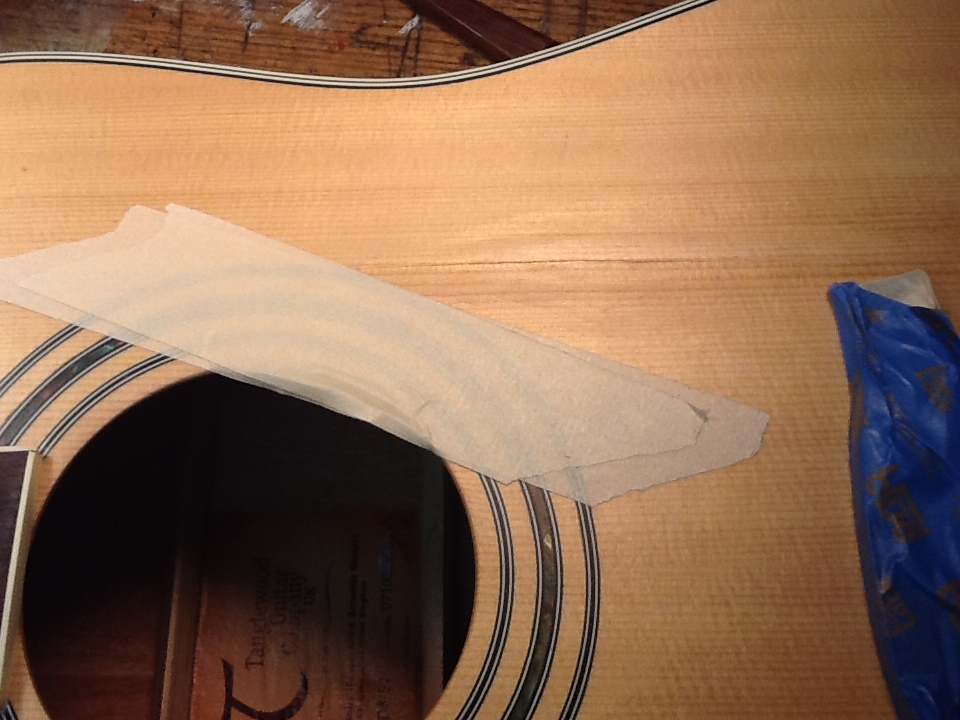
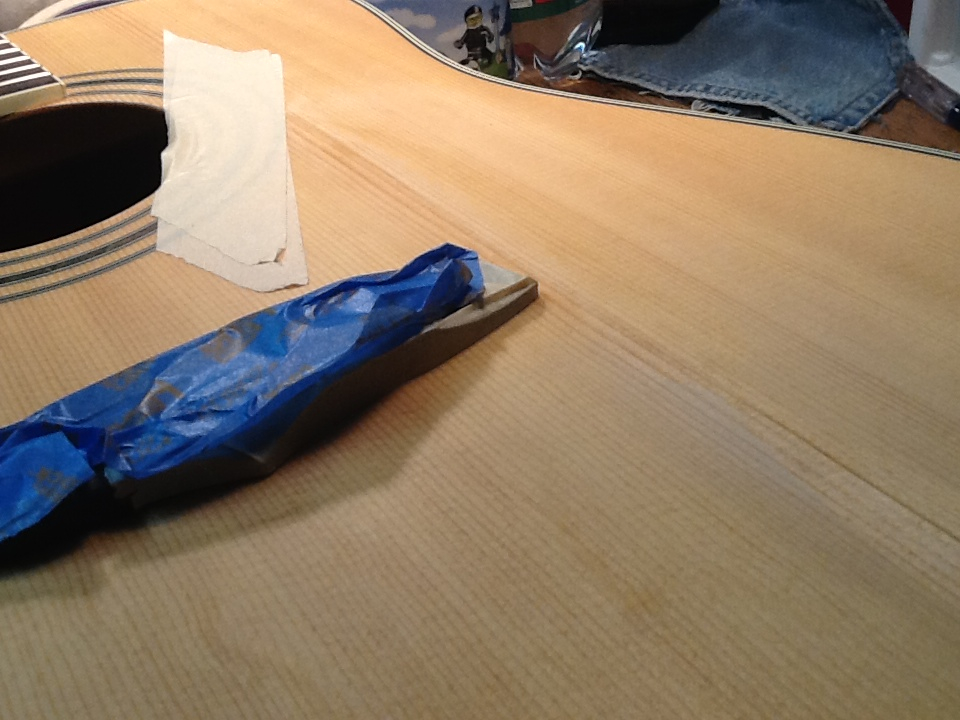
I did a quick-and-dirty glue of a cleat underneath the crack behind the bridge to give the fix some structure. Once that dried I sanded the surface of the soundboard to even things out a bit. Then I masked the rosette and bridge and ran a bead of super glue down the length of the crack and pushed it into the crack as best I could using a tongue depressor. Once it dried I scraped off the excess with a razor blade. for advice on doing this sort of repair. I got the idea from StewMac to use super glue instead of wood glue. I then did a bit of sanding with 200 grit paper to make it nice.
To be clear, I didn't want the crack to be invisible when I was finshed. Part of the point of this project is to show that broken and beaten up guitars can have a second life and the slight hump that will remain under the paint in the finished product will be a conversation peice.
Two major updates since the intake photos:
Crack fix
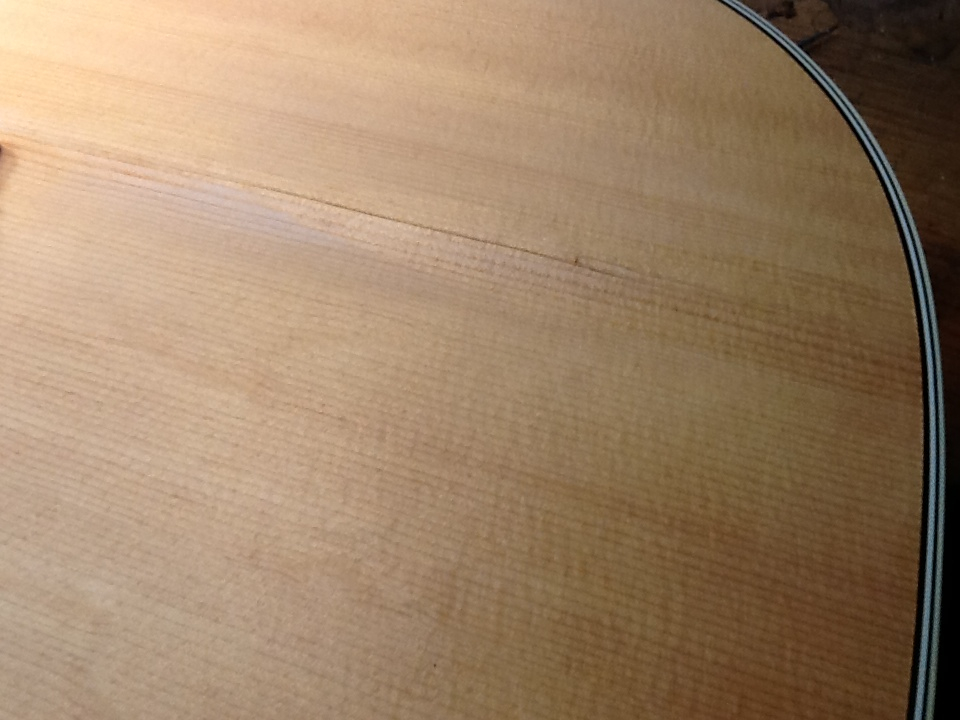
Fixing the crack was a pretty straightforward. First I needed to try to get the body back to the shape it was before the drop. Like body work on a car, this typically requires the judicious use of a hammer. Putting a wood block covered by a soft cloth on top of the bowed out sections of the crack, I hit it with a good bit of force to try and smash the wood fibers together so that they would flatten out. I did it to the top and bottom. I checked every few whacks or so to make sure I wasn't doing any additional damage. Since this was a pretty cheap guitar I wasn't all that cautious.
Once the body was back into more or less the right shape, I filled the crack with as much super glue as I could pack into the crack. I wiped off a bit of the excess but let it stay proud of the surface to make sure that I had too much rather than too little to sand. Once the glue dried I scraped some of it off with a razor and then sanded it down to be pretty smooth.
Roughing the Surface
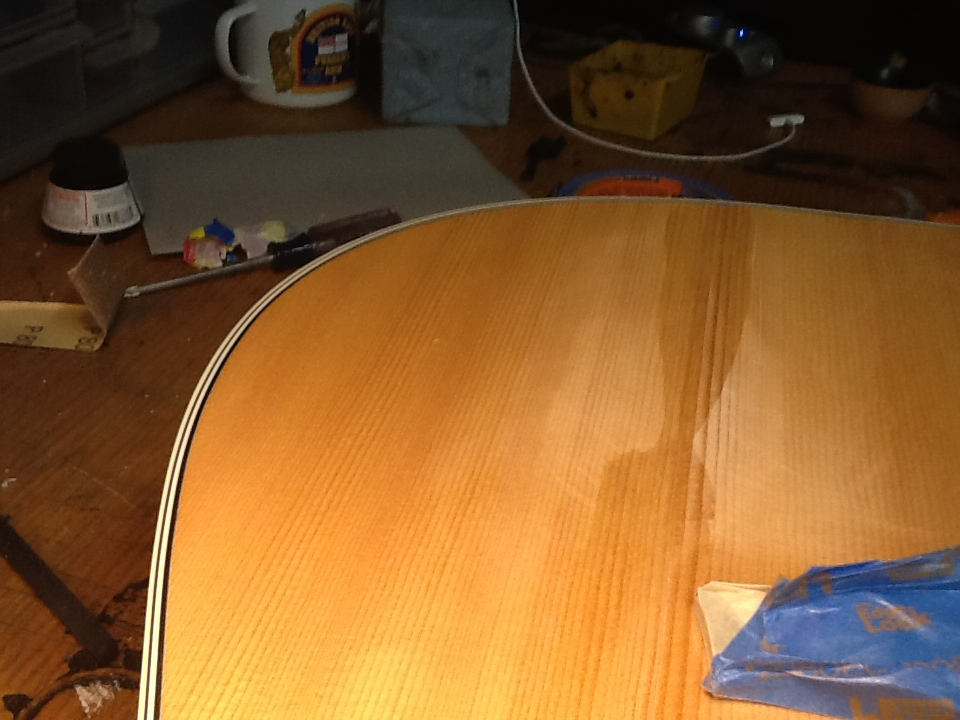
The entire body is being painted so I needed to rough it up to give the paint something to stick to. The white power is the old finish being sanded off. Toxic stuff, no doubt.
Since this won't be a see-through paint job I didn't have to be too careful on the body of the instrument. I also took some time to smooth out the gouges left by the factory when they scraped the logo and maker's mark off the headstock. What a mess