Sitar 04 Cleaning
2025
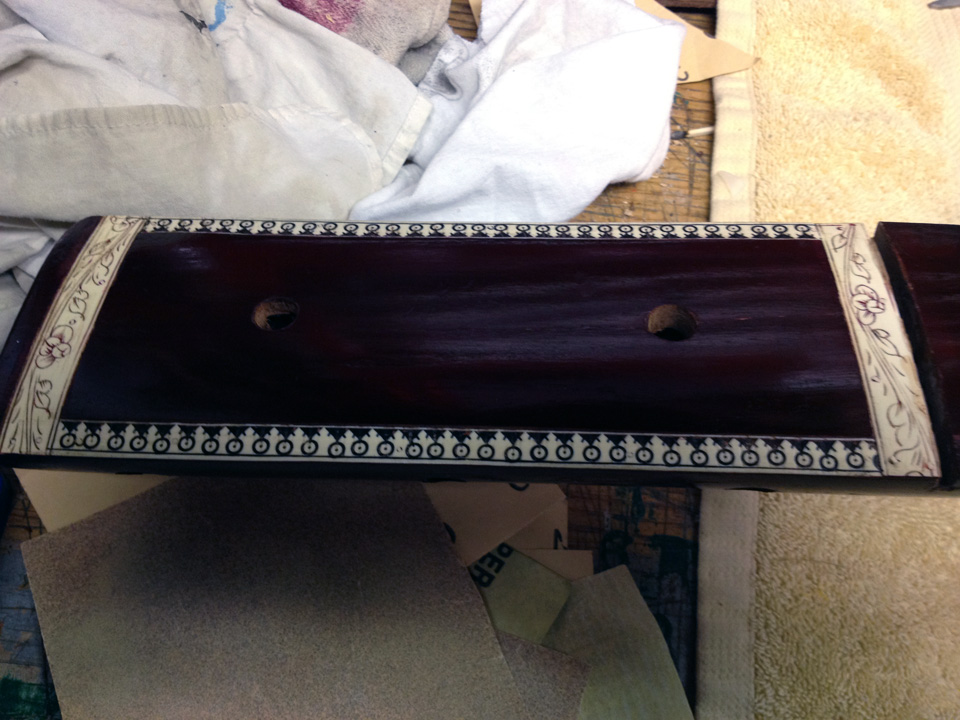
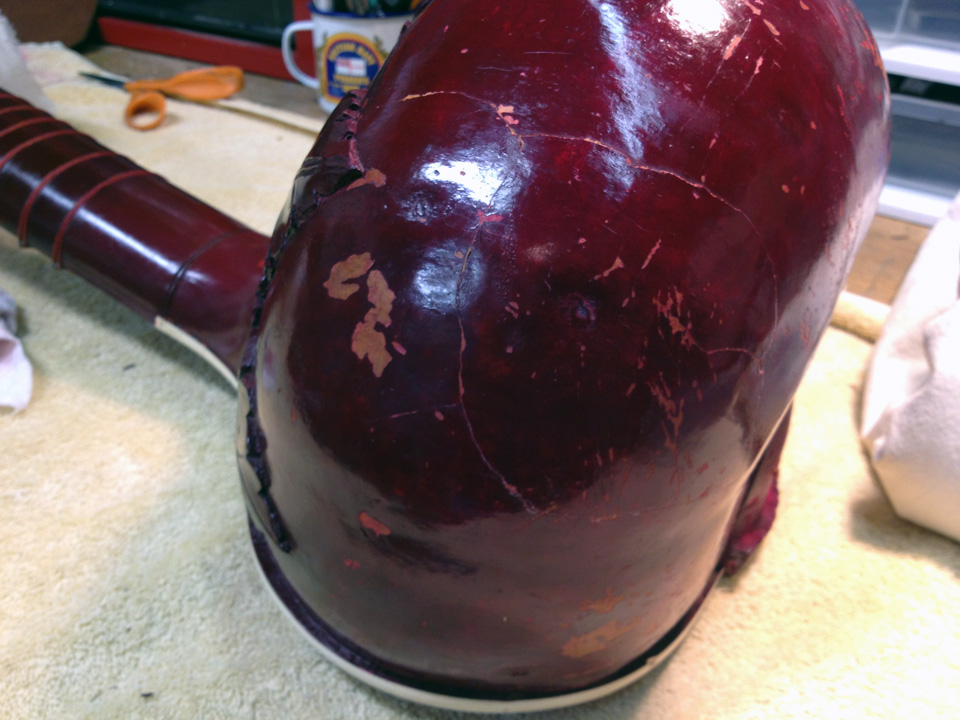
Finished up my friend's sitar repair this past weekend and this will be the final entry for this project. The first challenge to finishing this project up was fitting the new nut and lotus pin (chikari post). They were missing when I got the instrument and had to order some online. Though I ordered the smallest pin available, it was still quite large. Try though I might, I couldn't figure out a way to do this safely with a power tool, so I spent a very long time hand sanding the pin down to its final size and used a hacksaw blade to cut the string groove. Luckily with the nut (tar gahan) I was able to use my belt sander to take off about 1/16th of an inch. I used a chisel to clean the old glue out of the slot. The nut was also far too wide (based on the photographs and diagrams I could see on the Internet) so I also had to cut that down and finish the corners.
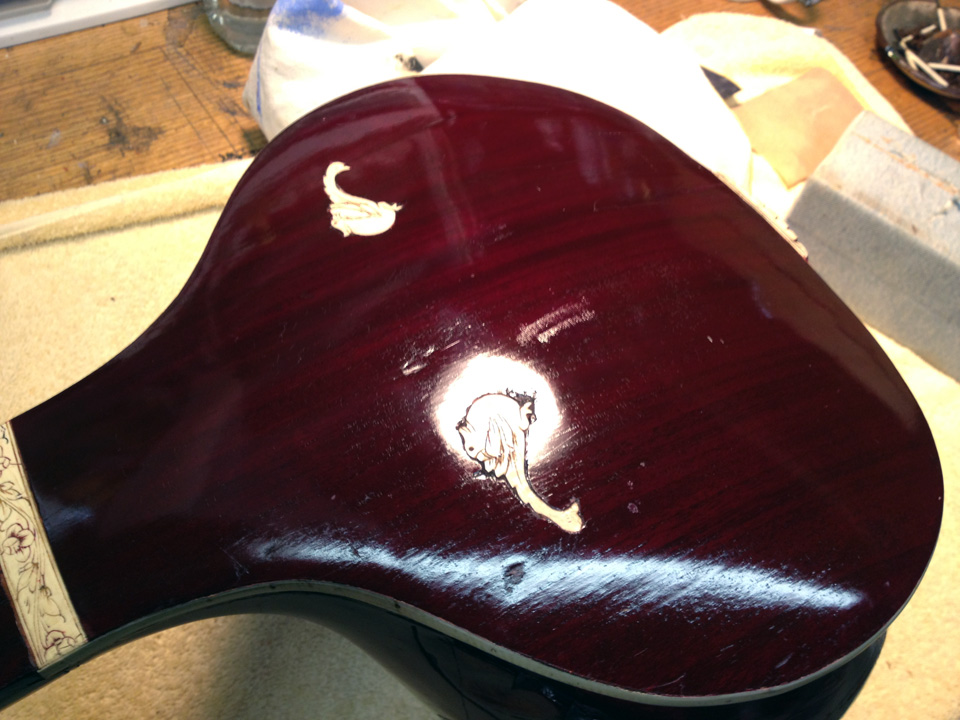
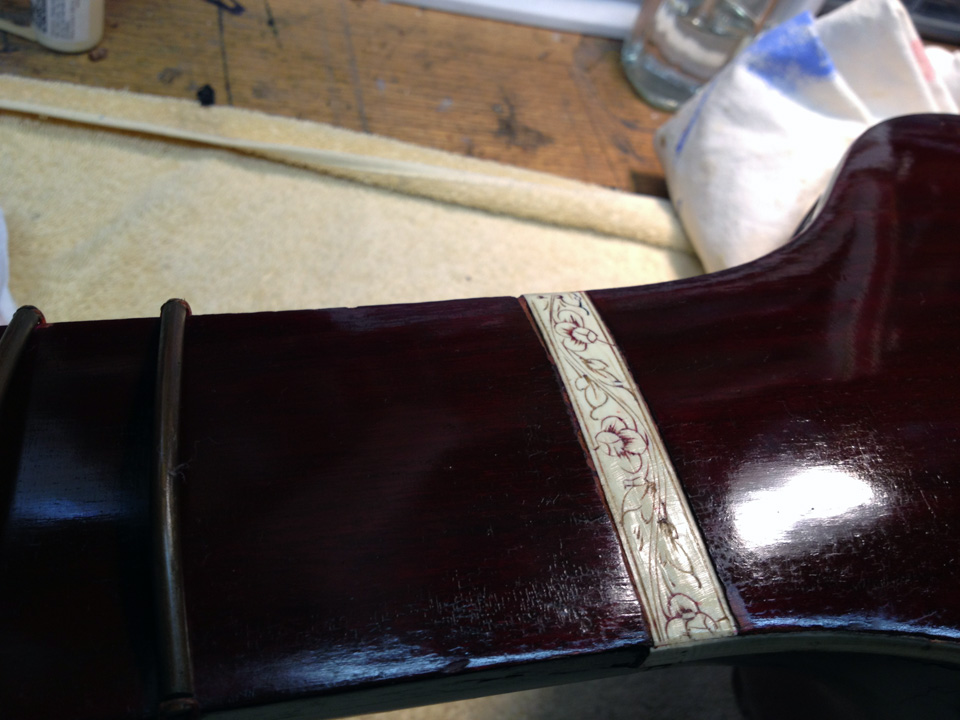
The next challenge was the fact that since the nut and pin (and tuning beads (manka)) were brand new they were bright white compared to the existing hardware, which had been on for decades. Deep in my brain was some remembered episode of This Old House or something where they had a similar challenge and they used tea to stain the work. So, I brewed up a strong cup (two bags of normal black tea) and soaked the pieces. I tested the pieces first, just dipping them quickly and drying them off, to make sure I didn't go overboard. What worked best in the end was soaking them for around 6 minutes or so. Since bone is very porous and of course isn't as consistent as a man-made material, mileage may vary. Also, it seemed like the hotter the tea, the more it soaked in, but that could have been my imagination. If this was a full on restoration project, I would have also used a pin and some india ink to make some of the darker holes and dirt marks that the other parts had, but this was close enough for a project on a budget.
Once the pieces were dry I used a very tiny bit of glue on the nut and pin just to hold them in place. Since I have no idea whether I purchased the correct nut or not, it may need to be removed and I didn't want it to be an epic struggle. This is why you should not use super glue or epoxy on any parts that may need to be replaced in the future. I did use super glue to stabilize the bowl (gourd), but that's because it was already broken (see earlier entry).
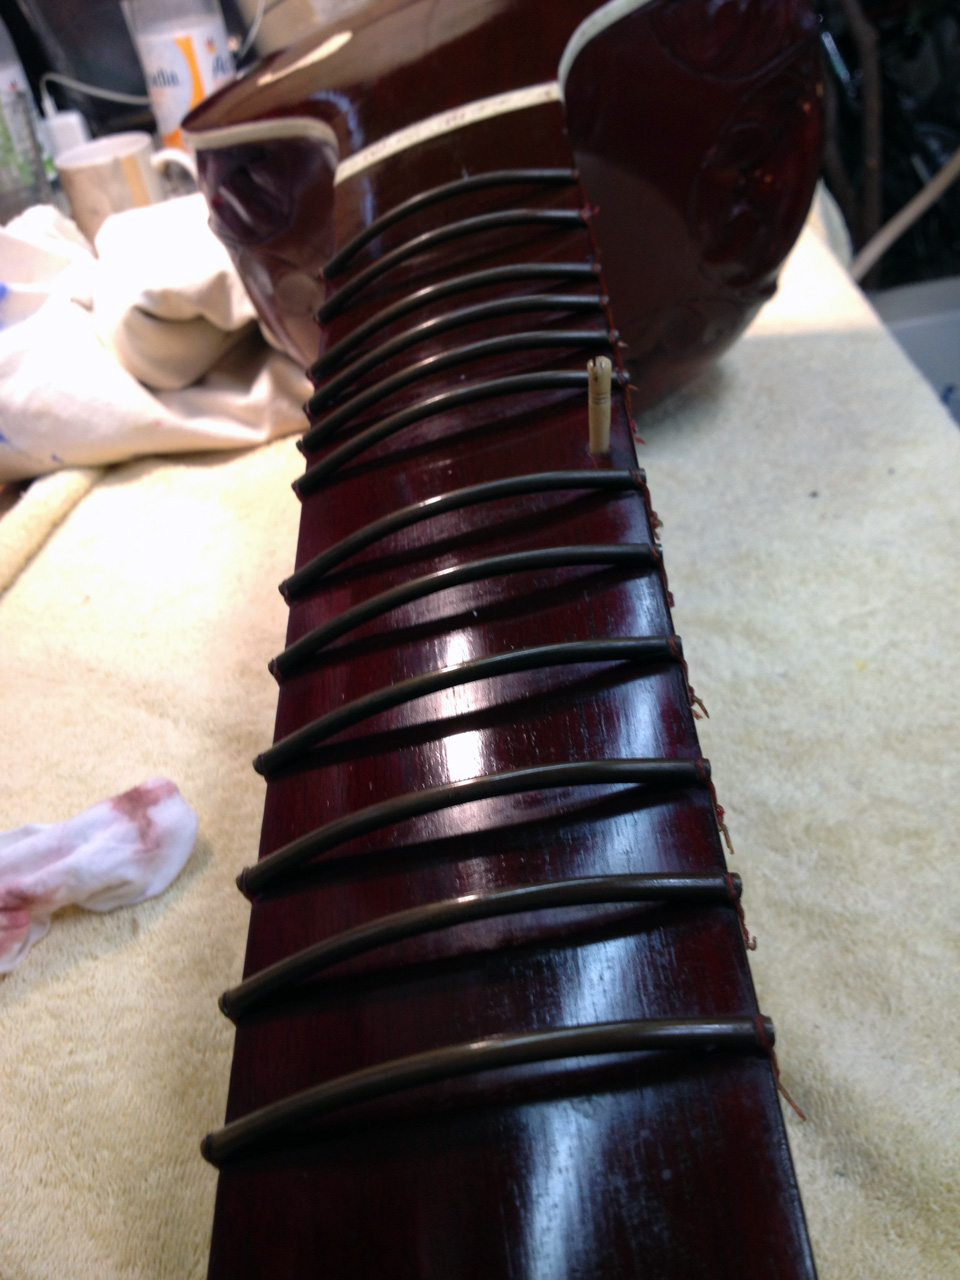
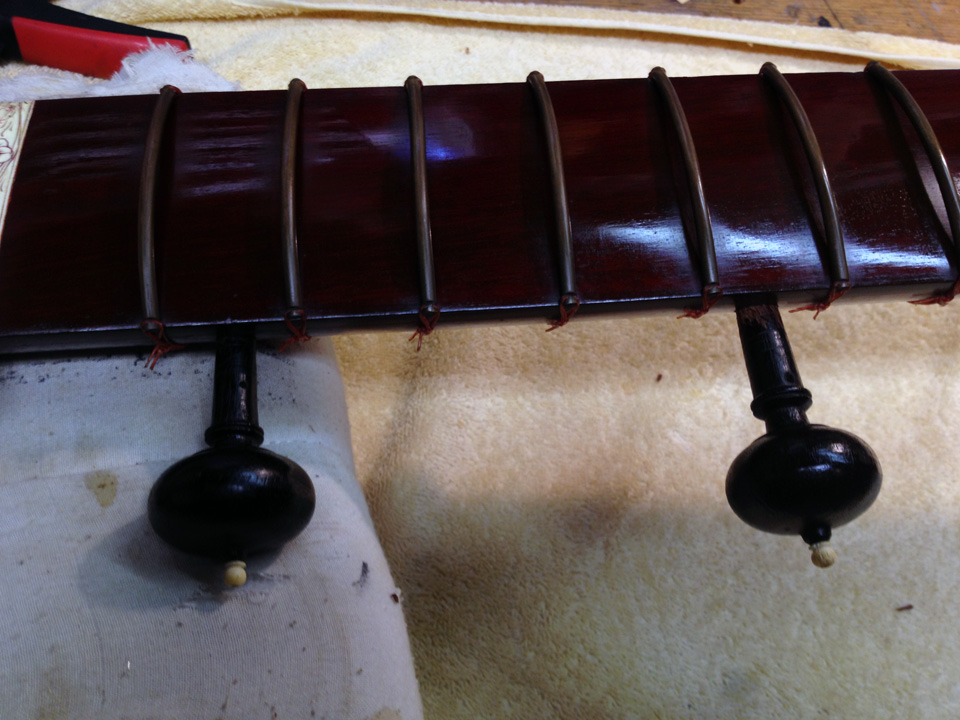
The final challenge was the one I had dreaded most; restringing. Firstly, let's just say that there's a huge lack of information in the Internet about the proper way to restring a regular sitar (the one with sympathetic strings), let alone this rare bird without them. I was glad that there were 13 less strings to put on, of course, but I was more or less flying blind in terms of how the nuts worked and so on. The strings came with loops already in them, which was good, except the loops were too small to fit around the end pin, so I had to take the end pin out and put all of the loops around it at one time (photo below). After a few punctures from the strings and a lot of untangling of wire, I got things to the best spot I could and that's where I'm leaving this project. The owner can tune it up as he wishes, or use it for decoration, but I'm done.